|
|
|

| This is a rendering of the canopy on one of my models. It's not the same canopy we'll build in the following example, just an idea of what can be done. It was fairly easy to build, but the process is not, if you'll pardon the pun, transparent. |

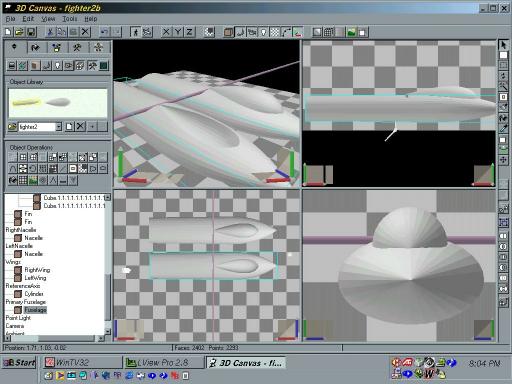
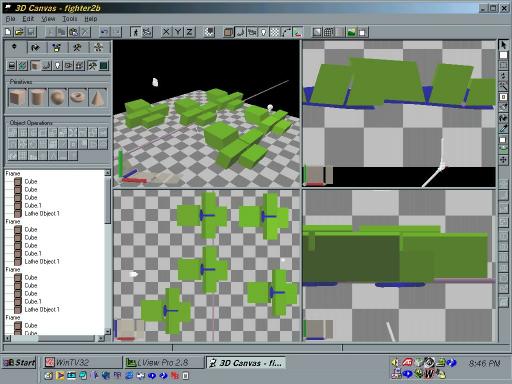
| Here you see the "blank" fighter, before beginning to build the canopy. I've used the lathe tool to form both the fuselage and the canopy. The canopy object is, at the moment, a full teardrop. Scale and rotate the canopy until you're satisfied with the fit against the fuselage. Make sure to use the "solidify object" and "optimize object geometry" tools. You will need several copies of both the fuselage and the canopy It's a good idea to add them to the object library now. |
|
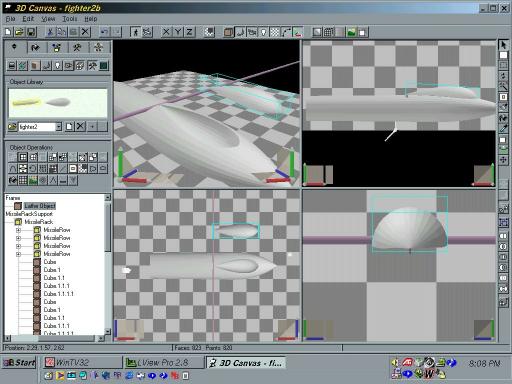
Make everything you're not working on not-visible. Group the fuselage and the canopy and use copy/paste to make an exact copy of both, in their correct orientation. Notice the purple bar? I often use a long, thin cylinder in the scene to help align objects. |
|
Now, subtract the canopy from the fuselage on one copy and subtract the fuselage
from the canopy on the other copy. Notice that the subtract boolean is destructive, i.e. the object being subtracted is gone when the operation is complete. In the intersection operation you'll be using shortly, the same thing is true. |
|
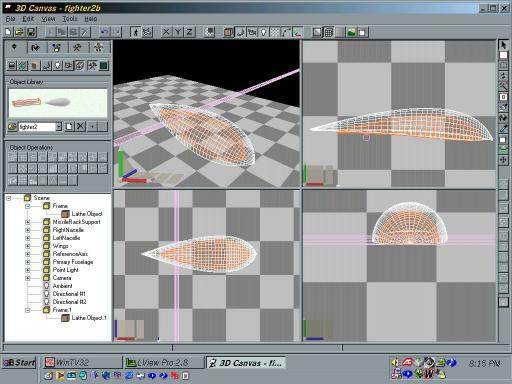
Drag another copy of the full teardrop shape from the object library.
Right click on the scale tool and set all three axis to scale at .9 Scale the teardrop once, making it slightly smaller than the canopy left behind by the subtraction operation. It's useful to fill the full teardrop object with a different color at this point to make it easier to see. Switch to wireframe mode and carefully position the teardrop inside the canopy object so that it's as nearly centered as possible. Subtract the teardrop, leaving behind a canopy shell which is hollow. Optimize object geometry and make object solid, again. |
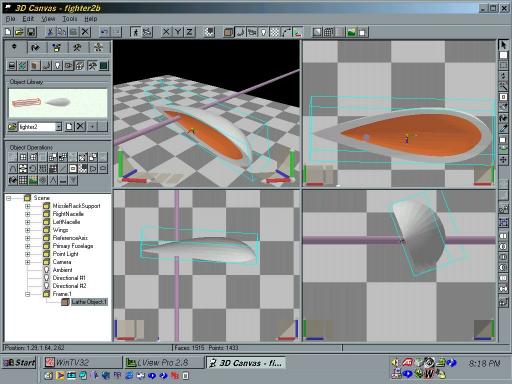
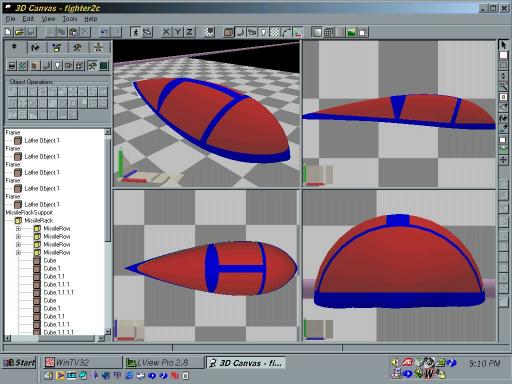
| If you tilt the remaining object slightly, this is what you should see. Put it back, carefully, where it was. |

|
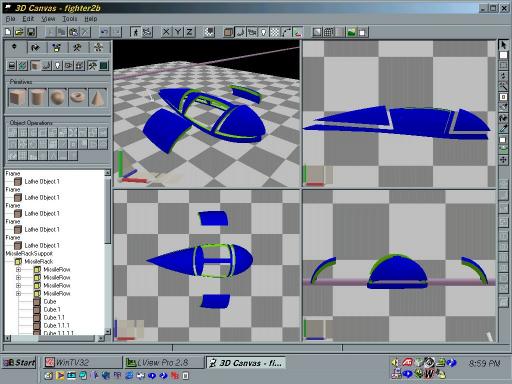
Study this snapshot carefully. Use cube primatives to make "bolts" which run across
the canopy. I've filled the canopy with a blue texture to make things clearer. You
can use scale and deform operations to make the bolts fit in a pleasing pattern. The
surface of the canopy which remains visible will be the canopy "frame." Notice the two bolts in the middle of the canopy? That will leave a center rail in the canopy frame. If you use a bolt which is completely enclosed by the canopy frame, you will need to make it in two pieces like these. The intersection operation requires that the resulting object be a single solid. A bolt that runs through both sides of the canopy will leave behind two disconnected pieces and the intersection operation will fail. |
| Now, group the bolts and the canopy together in the scene hierarchy and make copies of the group. You need one original and one copy for each bolt you added. In this case, I needed five copies. |
|
For one group, use the subtraction operation to subtract each bolt from the canopy. This will leave behind the canopy frame. Then, in each of the other copies, use the intersection operation to create the glass "panes." In other words, you want the intersection of one bolt and the canopy object per group. Remove the excess bolts. When you're done, you should have a collection of pieces like these. Center each part on its axis, then fill the panes with a different color, like the red I've used in the next frame. |
|
Fit all the pieces together. Don't get upset if the pieces won't fit perfectly. In fact, you don't want them perfect. The slight misalignment will make the frame seem more realistic. I use POVray to do the final rendering. With a chrome frame and hard plastic texture, it takes forever to render but the result is well worth it. |

| Here's the canopy rendered with POVray. A happy accident! The boolean operations in 3DCanvas left the green coloring on the inside edge of the canopy frame. I raised it's ambient parameter enough to make it look like its glowing green around the edges of the plexiglass. Kinda cool! |